
This guide was written before plot compression was introduced to Chia. Plot compression allows farmers to use the computing power of GPUs to reduce the size of plots and increase rewards. The Chia network shortly (6 months to a year) plans to introduce a new plot format to combat plot compression. We recommend small farmers (below a Petabyte of uncompressed storage) wait it out till then, as rewards will be insignificant, and additional farmers provide little benefit to the network. You can still follow this guide to install the full Chia node.
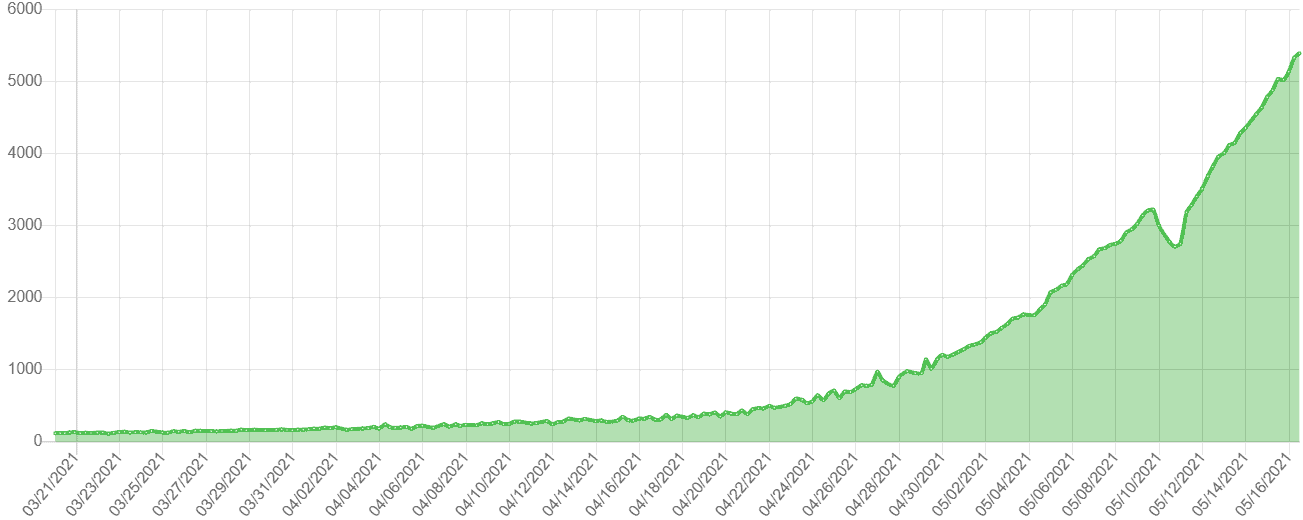
Chia, a cryptocurrency that aims to reduce the environmental impact of mining PoW coins like Bitcoin, has seen a massive surge in popularity since transactions went live on its mainnet on May 3, 2021.
With a meteoric rise in netspace growth, the new cryptocurrency is becoming more challenging to obtain with just a few terabytes of storage, with current estimates for a 64TB setup expected to yield a single block reward of 2 Chia coins in 21 days.
With the netspace expected to grow even further, solo mining with less than a Petabyte seems a tough battle, especially if you’re looking to cash in early to recoup initial investments.
However, with live pooling, one can expect a steady stream of Chia rather than depending on dumb luck to get a few coins.
For those with the capital to expand to high amounts of storage, the otherwise obscure part of Chia farming, plotting, will be a severe bottleneck, with most high-end consumer systems being able to net only 100 plots a day.
Why Linux?
Most Chia farmers tend to plot on Windows mainly due to the ease of setting up a full node and plotting via the GUI.
However, if you’re looking to optimize your plotting seriously, you will need a better way to manage plots than just starting a batch job on the GUI and manually starting the next job when the current one completes.
According to Chia’s official documentation, plotting in Linux systems also improves performance over Windows, which can be up to 10%.
We believe this is due to the faster read-write operations of the ext4/XFS filesystem over the NTFS file system you are locked to on Windows.
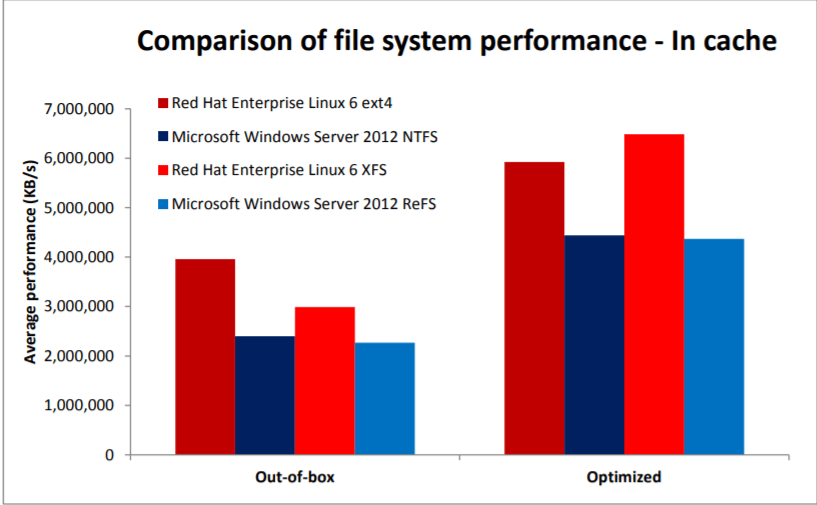
Keep in mind that this is only applicable to your temp drives. You can continue with your current filesystem for drives that store plots without impacting performance.
This might be a difference of just a day for a small farmer with just a few TB of storage. For massive operations ranging from the hundreds of TBs to PBs, the 10% improvement net significant returns considering the current rate of high block rewards.
Besides the performance improvement, tools like Plotman, a handy plotting manager, are exclusively available on Linux. This alone is why we recommend most people make the switch since the effort needed to get acquainted with the command line is worth the time saved through optimized plotting.
While some tools like the Swar-Chia-Plot-Manager are available in Windows, the expertise needed to set it up is equivalent to running a command line in Linux. We recommend newcomers become familiar with it on Windows before venturing to plot in Linux.
Apart from the critical advantages described above, you get some more benefits by going with Linux:
- Ability to suspend plotting. Remember that if you restart your computer or kill the plotting process, the plot will fail, and you must start over.
- Running the plotting system in headless mode, i.e., without a monitor plugged in. This is useful in Intel HEDT and AMD Ryzen systems that do not come with an included iGPU. Running Linux headless saves you from the extra cost of buying a GPU and monitor and lets you control multiple plotters via SSH.
Step 01: Installing Linux on your System
This guide is currently made for those looking to install the desktop variant of Linux. For those looking to run their system in a headless mode, we recommend getting a cheap GPU like the Nvidia GT 710, which takes up a single PCIe 1x slot for video output.
If you plan on using multiple systems, you can use the GPU to install Linux and Chia, configure SSH for remote control, and use the GPU elsewhere.
The first step towards plotting in Linux is, well, installing Linux. While there are many distros, we use Ubuntu 20.04 in this guide.
You will need a separate computer to create a live USB from which you can install Ubuntu. We are using Windows 10, which we would expect most first-time Linux users to be using. If you have already set up Linux, you can skip to the part where we install the Chia CLI.
First, you must download the Ubuntu 20.04 LTS ISO file from the official website. Then, make sure to install the 64-bit desktop image. Once your download completes, you can download the Rufus utility from here, which is needed to create a bootable USB.
After you have installed Rufus, plug it into your USB stick. Flashing will erase the USB stick, ensuring you have backed up its data first. You can buy this SanDisk 16GB Ultra Flair from Amazon for cheap if you do not have a USB stick.
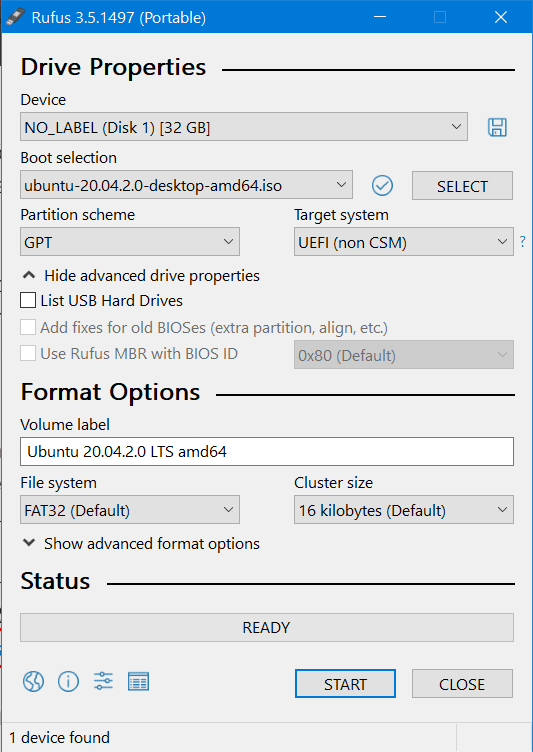
Next, open Rufus and select your USB stick under the device tab. Then, press select and choose the Ubuntu ISO image you just downloaded.
Change the partition scheme to GPT and ensure your target system is UEFI. Verify your options match with the image below and click start.
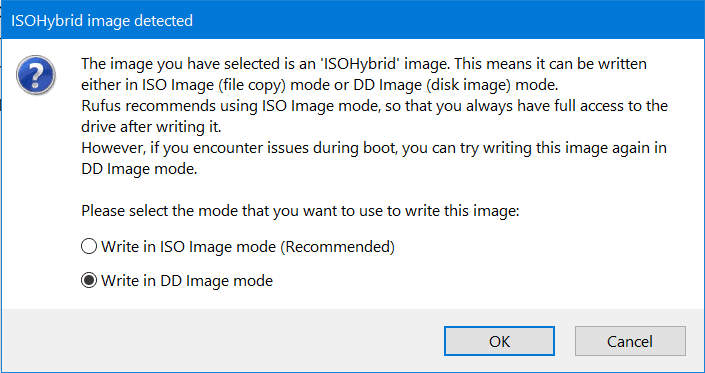
In the dialog box that pops up, select the option that writes the image in DD mode.
Click ‘Ok’ in any dialog boxes that follow, and Rufus will start writing the image. You may need to wait for a while before the writing completes. Once complete, you can eject the drive and plug it into your plotting system.
Boot from the Live USB by accessing the boot menu. The shortcut keys vary between systems, and a simple Google search will be enough.
You can now head over to the official Ubuntu docs to help you get going with your installation. If you have Windows installed on your boot drive, select the option that installs Ubuntu alongside it or back up your Windows installation before erasing the disk.
Once installed, you will boot into a fresh installation of Ubuntu. Before you can install Chia, you will need to access the Terminal.
You can open up the Terminal by using the shortcut key Ctrl+Alt+T or going to the application panel and searching for the Terminal application.
You can add the Terminal to your favorites if you want easy access to it in the future.
Follow the guide further as we dive into installing the Chia CLI and GUI.
Step 02: Installing the Chia CLI and GUI
Installing the Chia client is pretty straightforward. Paste the code from this guide into the Terminal, and you’re all set. We have referred to the official Chia installation guide, so you can head over there if you want to learn more.
This guide is for Ubuntu/Debian systems, so these commands may not work for other distros.
You must paste the copied code from this guide using the shortcut Ctrl+Alt+V for those unfamiliar with the Terminal. Since we’re using sudo, you will need to enter your system password to run the command.
sudo add-apt-repository universe
sudo apt-get update
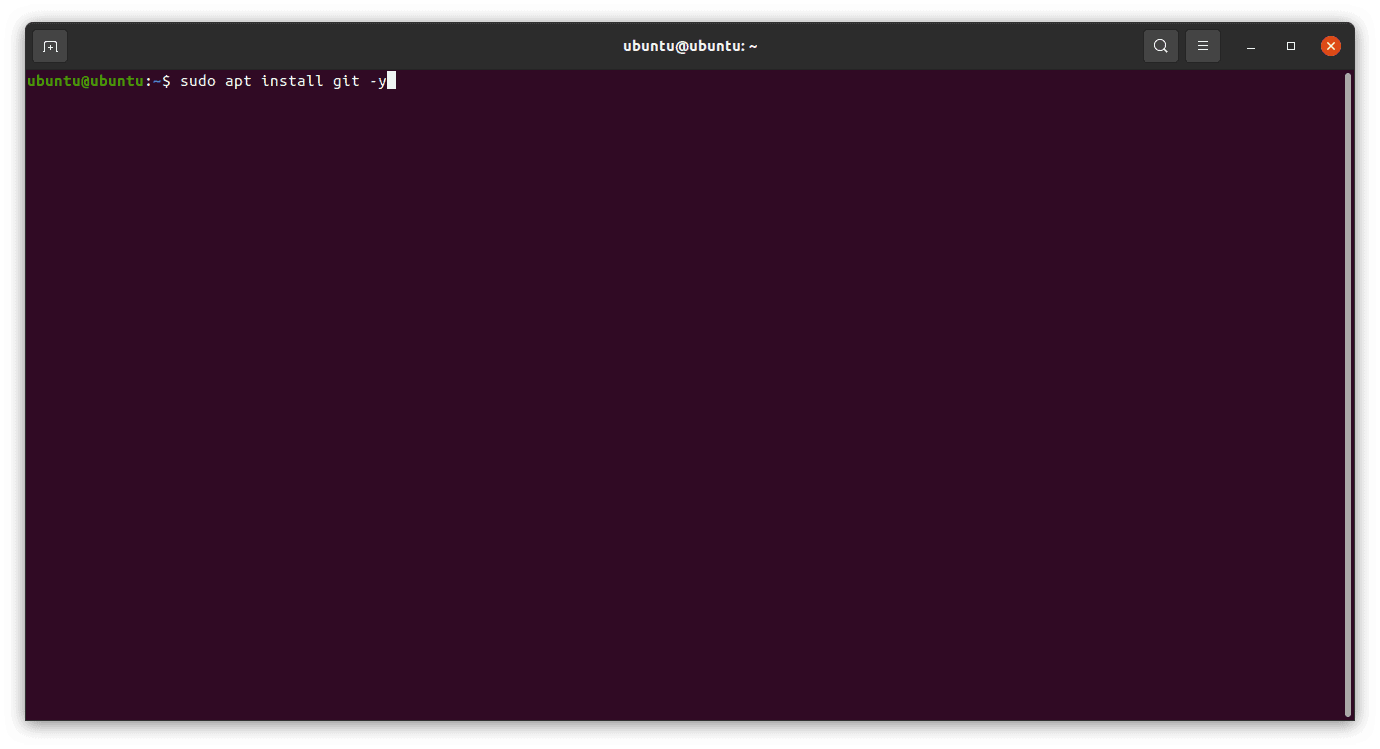
sudo apt-get upgrade -yOnce this command finishes, we will install Git, which helps us install the Chia blockchain from source.
sudo apt install git -yWe can now clone the chia-blockchain repository to our local system and run the install script.
git clone https://github.com/Chia-Network/chia-blockchain.git -b latest --recurse-submodules
cd chia-blockchain

sh install.sh

. ./activate
Now that the Chia CLI has been installed, we can install the GUI. You can skip this part if you use the system just for plotting.
We recommend it for those new to Linux, as it offers an easy way to add your mnemonic phrase and set up the client.
sh install-gui.sh
cd chia-blockchain-gui
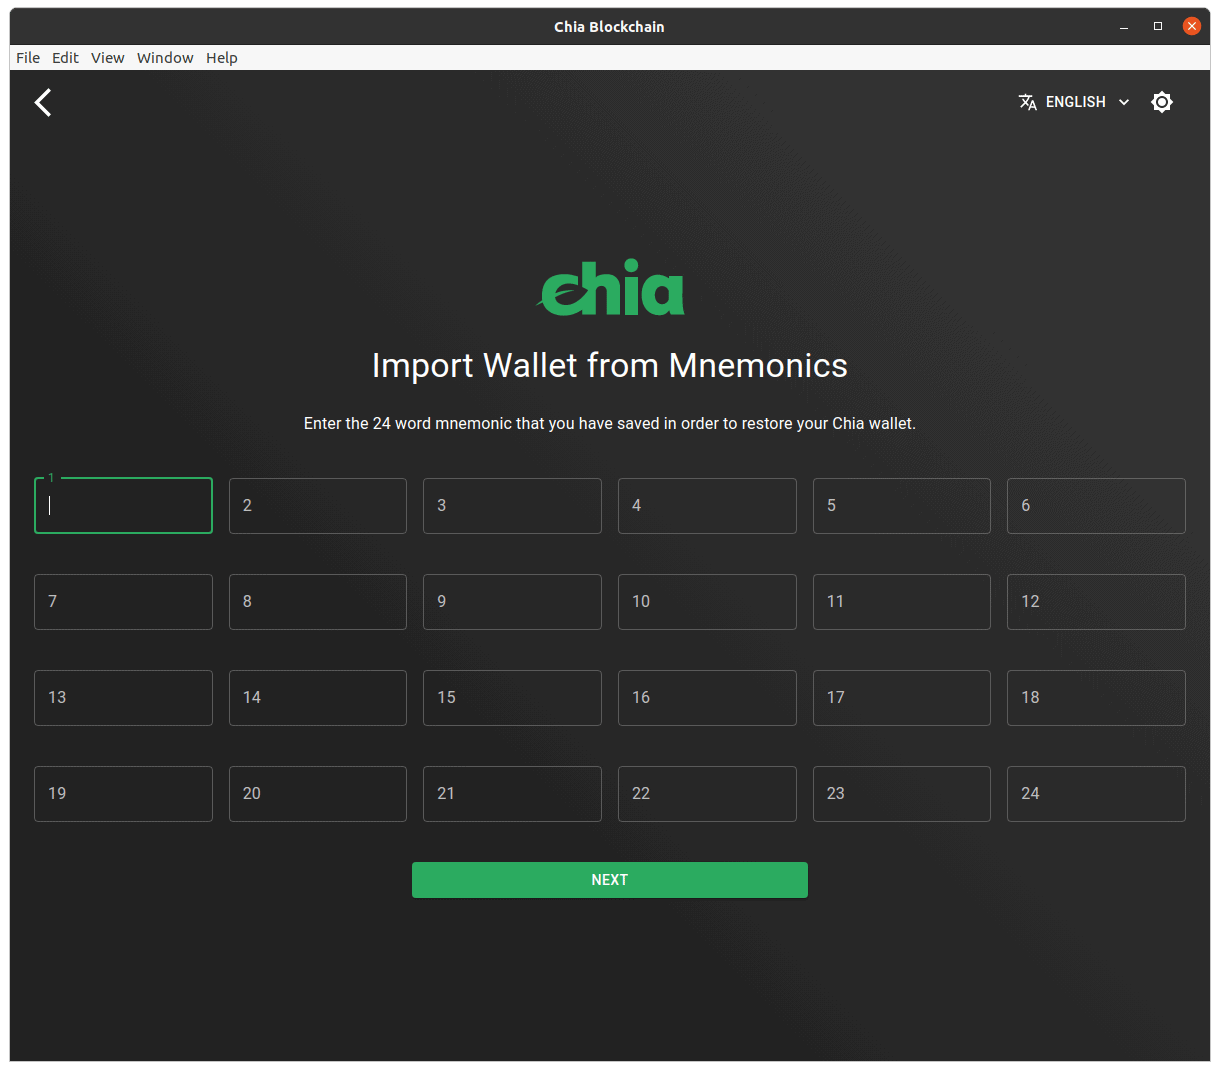
npm run electron &Once finished, the GUI window will open and prompt you to set up a new private key or import one from a 24-phrase mnemonic.
If creating a new wallet, you should generate a new private key and note down the mnemonic on paper.
If you already have a 24-phrase mnemonic, you must add the phases as you would in Windows.
Once installed, you will have the Chia client up and running. You must wait a bit for your client to sync with the blockchain before you can begin farming.
Launching the Chia GUI after restarting your computer can be tricky if you’re still new to the commands. You can paste the following in your Terminal every time you boot.
cd chia-blockchain
. ./activate
cd chia-blockchain-gui
npm run electron &
To skip the manual copy and paste, create a .sh file similar to the one used for installing Chia.
Create a .sh file by opening a terminal in your chia-blockchain directory and running the following commands. We will use Nano, the default file editor, in our example.
sudo nano startup.shOnce the editor opens in the Terminal, copy the commands to open the CLI and paste them into the Terminal. Finally, click Ctrl+X to close the editor and confirm by pressing Y and entering.
Now type the following command in your Terminal to give access to the startup script and run it after a reboot:
sudo chmod 777 startup.sh
sudo crontab -e
Once the editor opens, head to the bottom and add this line:
@reboot sh /home/your_username_here/chia-blockchain/startup.shMake sure to add your username where specified and save the file.
Conclusion
Now that you have the basic Chia installation up and running, you need to mount your temp and destination drives to start plotting. You can head over to Part 2 of this guide, where we cover the mounting of drives and the setup of Mad Max and Plotman.
Let us know if this guide was helpful to you. r/chia and Chiaforum are great places to find common answers to specific problems and learn more about farming, plotting, and transactions.
If you liked this guide, please consider supporting us through Patreon. You can also bookmark our homepage and return for more guides and news on the latest tech.
You can also consider donating to us, Chia at techtellectual.xch
Comments